Namaste Arborial Aquaphiles, and welcome to this installment of building a Nine-One Mal called.....well I don't actually have a name for it yet but I'm open to suggestions. It's a bit of a dilemma naming a board. Well is it for me. A bit like deciding on a name for your kid but not really. I mean there have been some shockers in the kid naming space. Arthur Brain, Dwayne Pipe, Gaye Males, Jack Goff. I mean what were their parents thinking? Kids names are a little more critical than surfboard names though. Stuff up a kid's name and poor old Jack Goff will never hear the end of it from his mates in the school playground but go with a lame board name and probably no one will even raise an eyebrow.
Anyway, there's a prequel to this epic. I still get a little emotional telling it so bare with me. This wooden board was originally my second, and it started its life as a hollow wooden version. It all went terribly wrong the moment I attempted to use my vacuum pump and bag to put the deck and hull skins on. I had spent and inordinate amount of effort and time measuring and scribing out the plans on butcher's paper, and meticulously building the frame. Then came the day to glue the skins to the frame. Being the cautious bloke that I am I decided to do a dry (glueless) run first. I taped the skins to the frame, slipped it all in the vacuum bag, sealed it up, connected it to the pump and sucked the bejesus out of it. Now my pump pulls a vacuum close to one atmosphere of pressure, about 27" of Hg (mercury) which is a lot for a hollow wooden board. It was all going gang busters when I started to hear the sound of the board creaking and groaning under the pressure of the bag, kind of like a U-Boat that's been hit by a depth charge. As the skins started to bow inwards between the frame ribs, I thought to myself, "Wood Buddha, this can't be good". At that moment and as I dove vertically through the air to do an emergency disconnection of the vacuum hose, kind of like a Wallaby scoring a try (which is rare these days), I heard a loud "CRACK!" and what I ended up with is a crushed board.
I sulked for month!
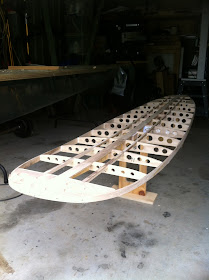
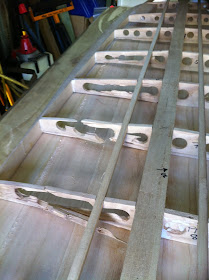
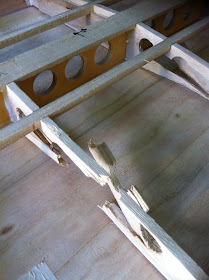
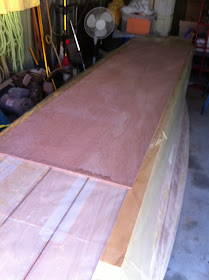
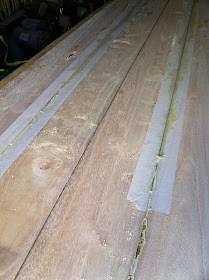
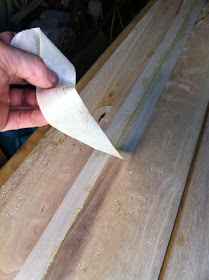
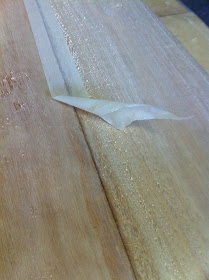
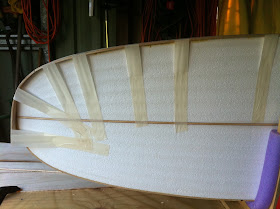
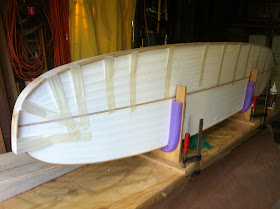
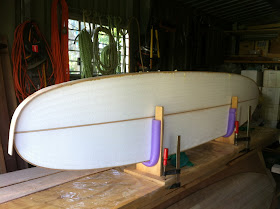
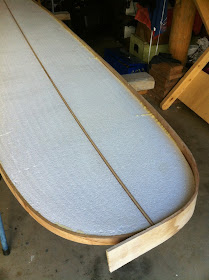
The following pictures tell the story.
Now we gotta make the best of it, improvise, soldier on, adapt, modify, overcome, Darwin, I ching, whatever man, we gotta roll with it. Acceptance of the impermanence of life and all that other Buddhist shit. Whatever! Mrs. Wood Buddha gave me a few upper cuts and I crawled into a corner and took a dog with me to lick my wounds.
Back to the story. So what I was left with was a frame with numerous crushed ribs, and deck/hull skins with several fine cracks about 500 mm long. The frame was pretty much a write off so I hung up on my ashram wall to remind me of past failure and keep my ego in check. I decided the skins were worth saving. I could build another frame but I was keen to try another technique developed by Grant Newby of the Gold Coast and currently adapted by Firewire Surfboards for their Timber Tek range. A Paulownia skinned EPS core surfboard.
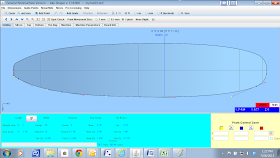
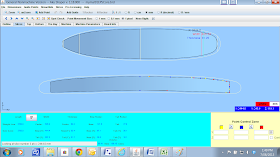
The first part of the process was to design the full board with final dimensions in AKU Shaper. Once I was happy with the outline, profile/rocker, rail profiles and volume I saved the board file. In this case I named the board "mymal91.brd". Maybe that's what I should call the board, "My Mal"? Pretty lame really. I then opened the exact same board file in AKU Shaper and renamed it something different like "mymal91EPSCore.brd". This is the EPS core that I'd get shaped on an APS3000 machine. I then loaded the original mymal91.brd file as a ghost board and used this as a guide for adjusting the outline, profile and rails of the EPS core. I allowed for the 6 mm paulownia deck and hull skins, and 24 mm (6 x 4 mm) all around the outline for the rails. I also squared off the rails. Now this all sounds a little complicated, but once I got a bit of practice with AKU Shaper it wasn't that difficult.
Some screen shots.
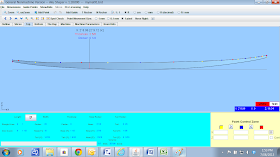
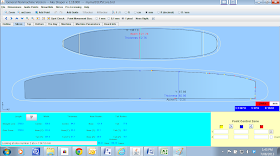
The outline in AKU Shaper.
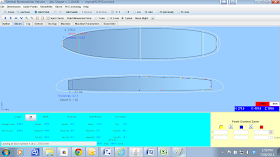
The board profile/rocker.
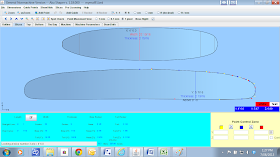
A view of the centre slice with a fairly full rail. The bottom contour rail to rail is fairly flat. It transitions from a concave in the first half of the board to a slight roll in back half of the board.
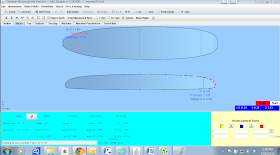
The slice 300 mm from the board tail. There is a slight roll on the bottom contour of about 4 - 5 mm.
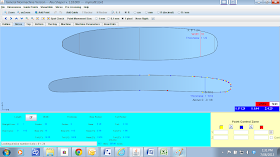
The slice 300 mm from the nose. Note the bottom concave.
This is the EPS core file. The original board file is imported as a ghost board and has a white outline. The EPS core board is reduced by 24 mm all around to allow for the paulownia rail bands (6 x 4 mm).
The view of the profile/rocker with 6 mm taken off to allow for the paulownia deck and hull skins.
The centre slice with squared off rails.
The slice 300 mm from the tail with squared of rails.
And the same for the slice 300 mm from the nose.
The next stage was to email the file to the guys at South Coast Foam at Burleigh Heads to cut the blank. They cleaned up the file in their machine version of Shaper3D, removing any lumps and bumps, and cut the board on their shaping machine using an EPS (Expanded PolyStyrene) blank. The blank is rated at VH (Very High/Hard) density and has a stringer pre-glued into it.
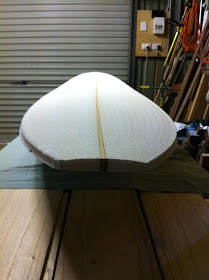
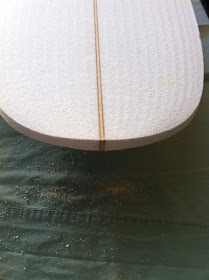
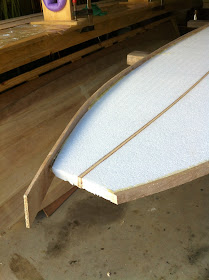
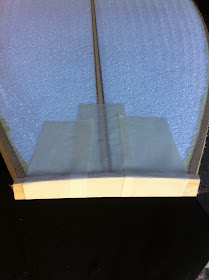
The view from the tail. Already finished.
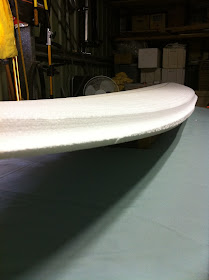
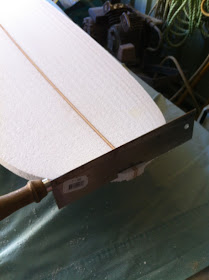
The rails have a bit of a lip but are easily cleaned up with 80 grit sand paper.
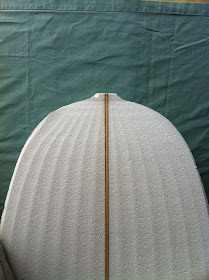
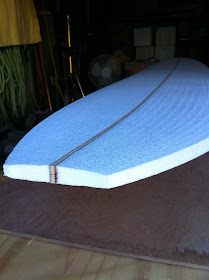
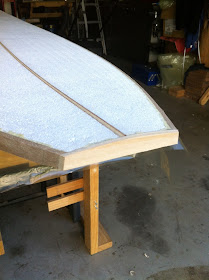
The nose.
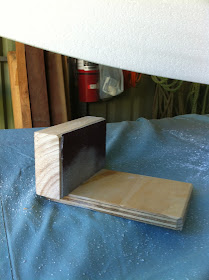
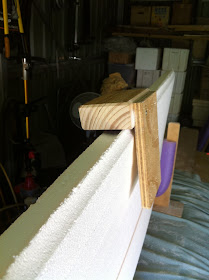
Home made sanding block with right angle guide and 80 grit paper hot glued to the block.
Using the sanding block to get a nice square edge.
The nose neatly finished with some light sanding.
The EPS blank weighs in at 2.2 kg. The original timber frame was 2.25 kg but I could have made it a bit lighter by using a 6 mm paulownia stringer and not using solid nose and tail blocks.
The blank tail was neatly finished and didn't need any additional sanding. The rail edge is square after some light sanding. No need to sand the deck and hull. These will be covered by paulownia.
Another photo showing the squared off rails after sanding.
Another photo showing the squared off rails after sanding.
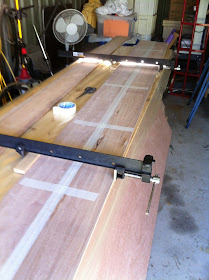
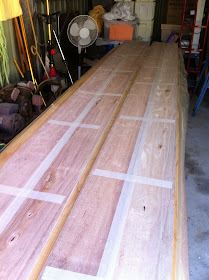
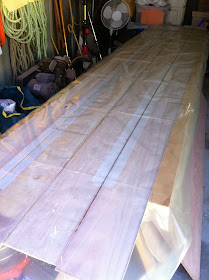
Making the panels for the rail bands. I clamp and tape two 150 mm x 6 mm panels side by side. I remove the clamps, bend the panels at the tape join like an inverted "V" and glue the join/sides with polyurethane glue. I place a sheet of plastic over the panel to reduce mess. I place a sheet of 2400 mm x 1200 mm ply over the panel and weight it down with bricks, tool boxes and anything else heavy I can find. When the glue dries, the result is a 300 mm x 6 mm panel that I can clean up in my thicknesser. The polyurethane glue dries in a couple of hours.
Taping the top side.
Taping the bottom side.
Using clamps on my work bench to hold the panel in an inverted "V" position ready for gluing. Keeps both hands free to apply the glue.
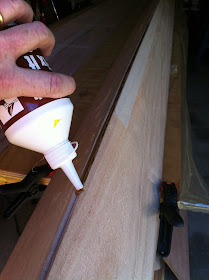
Marine grade polyurethane glue. Fixit Mate FMP 200 glue. Hmmm, looks like honey tastes like...not honey.
The panels covered in plastic.
Then a sheet of ply over the top to apply and even pressure while the glue sets.
Special clamping bricks and bags for extra weight make for a nice flat panel.
After 2 hours the polyurethane glue is dry and the tape can be removed.
A nice clean join under the tape.
And the bottom side.
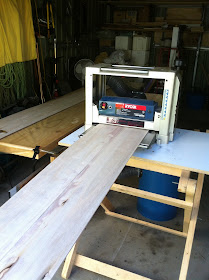
Thicknessing the panels down to 4 mm.
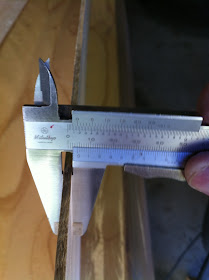
The panels thicknessed to 4 mm measured with my Dad's set of vernier calipers.
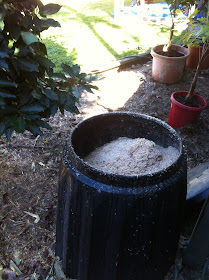
All sawdust and wood chips are recycled in my compost bin.
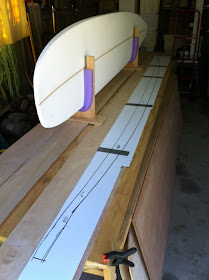
Marking the rail template on the back of an old vinyl sign that I cut and taped together.
The rail template ready to be cut out.
The first rail band marked out on the 4 mm timber panel using the template and cut out on my bandsaw. I finished the edges of the rail band with a block plane. A nice smooth edge minimizes the timber splitting when I steam and bend it around the nose of the board.
Steaming and bending the rail band around the nose of the board using wet hand towels and Mrs. Wood Buddha's hot iron. Normally this is a very effective way to bend paulownia and get me in trouble with Mrs. Wood Buddha. Even though the rail is only 4 mm thick, it didn't want to bend around the nose. Time for plan B.
Steaming the end of the rail in a pot of boiling water for 20 minutes. The pot has about 100 mm of water in the bottom.
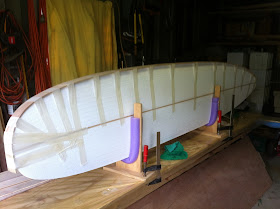
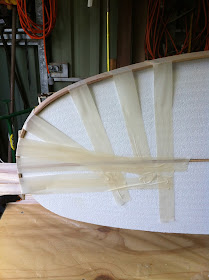
After 20 minutes in the pot of boiling water the rail bends easily around the nose. I taped it in place for an hour.
The polyurethane glue applied to the edge of the foam blank.
The tail. No steaming required at this end and taped in place till the glue dries. This normally takes about 2 hours.
The rail at the nose taped in place as the glue dries.
After 2 hours the tape is removed and the rail is ready to
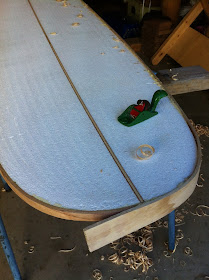
Planing down the top and bottom of the rail with my Kunz Beaver Tail Palm Plane.
The front of the rail trimmed to an angle.
The second rail steamed, bent and taped to the opposite side of the board.
The nose.
Polyurethane glue applied and the rail taped in place.
After 2 hours the tape is removed.
Ready for the palm plane.
The nose.
And the tail.
I take my time planing down the rails little by little until they are flush with the top and bottom contours of the board. I found this part pf the process a lot easier on the foam core board than with a timber frame.
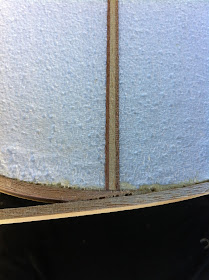
The rail join at the nose. Before trimming.
And after trimming. I use a dovetail saw and sanding block.
The rail at the tail came loose.
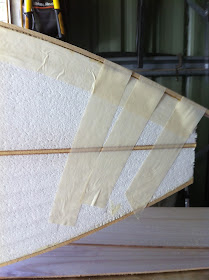
I just cleaned off the old glue with sand paper, re-glued in it and taped it into place.
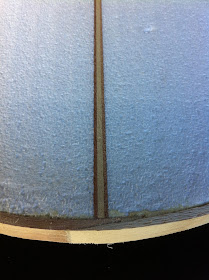
The rails all trimmed up on both sides.
The tail trimmed and sanded.
Marking the outline on the deck and hull skins. These skins are from my first attempt at this board using the timber frame. I just recycled them.
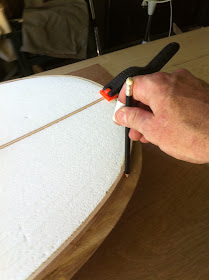
Marking around the nose.
Gluing on the tail piece.
The tail all trimmed up.
Sanding the deck and hull skins. My least favourite part of the board building process. One of these days I'll have to see if I can get a purchase request for a Drum Sander past the Minister for War and Finance (a.k.a. Mrs. Wood Buddha). I like to sand the skins before I glue them onto the board. It's much easier to sand them on a flat surface.
Applying the polyurethane glue to the bottom of the EPS core with a squeegee. A little glue goes a long way. I mist spray with water to help activate the glue. Polyurethane is moisture cured. Note the pencil line on the front of the core to mark the centre of the EPS core. This helps lining up the centre of the deck and hull skins with the EPS core.
And the same for the top of the core.
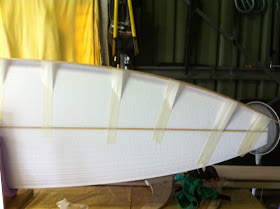
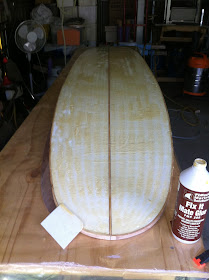
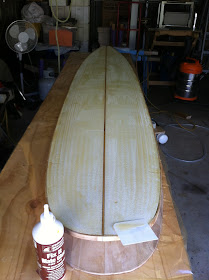
The skins lined up and taped in place.
The tail. I tape either side of the centre line Why? So I can make sure everything is centred Oh wise and noble reader. Things do tend to move around during the vacuum bagging process.
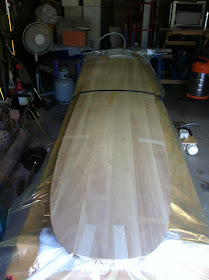
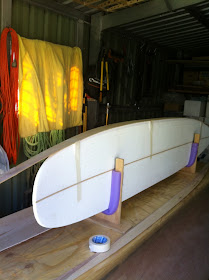
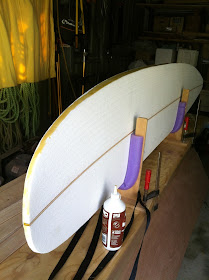
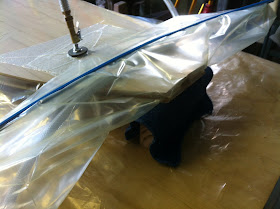
Then into the bag. I place timber blocks under the nose and tail of the board and tie down the centre of the board to the work bench. This is so the integrity of the board rocker is maintained during the vacuum bagging process. The pressure of the bag has a tendency to flatten out the board rocker. I then suck the bejesus out of the bag.
The view from the tail and the vacuum connector. There is a small piece of breather cloth under the connector to help with the flow of air out of the bag.
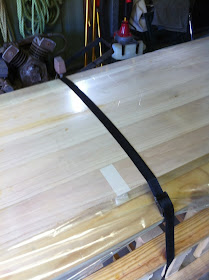
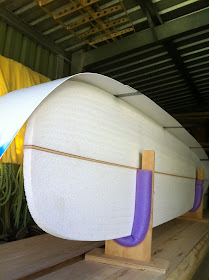
A padded timber block under the board nose.
Timber block under the tail.
The venturi vacuum pump set at a maximum of 25" Hg and minimum of 20" of Hg.
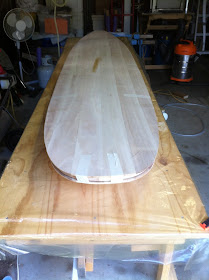
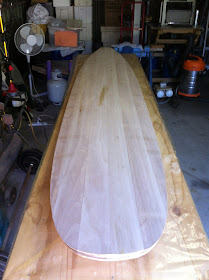
After 3 hours the board is removed from the bag.
The nose.
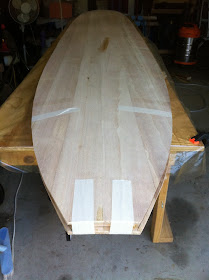
The tail.
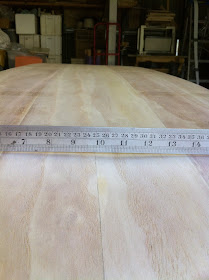
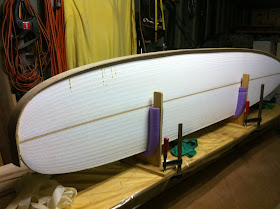
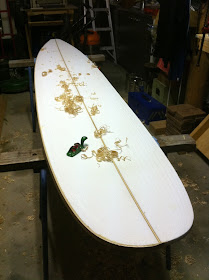
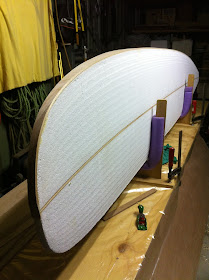
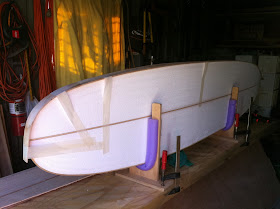
Planing down the rails.
Sanding down the rails after planing.
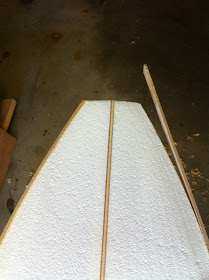
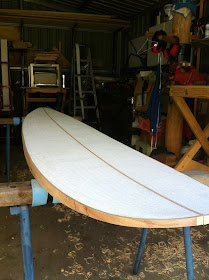
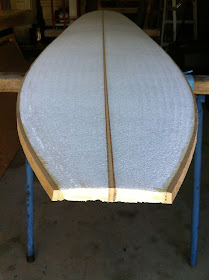
View from the nose end.
View from the tail end.
Taping the top side.
Taping the bottom side.
Using clamps on my work bench to hold the panel in an inverted "V" position ready for gluing. Keeps both hands free to apply the glue.
Marine grade polyurethane glue. Fixit Mate FMP 200 glue. Hmmm, looks like honey tastes like...not honey.
The panels covered in plastic.
Then a sheet of ply over the top to apply and even pressure while the glue sets.
Special clamping bricks and bags for extra weight make for a nice flat panel.
After 2 hours the polyurethane glue is dry and the tape can be removed.
A nice clean join under the tape.
And the bottom side.
Thicknessing the panels down to 4 mm.

The panels thicknessed to 4 mm measured with my Dad's set of vernier calipers.
All sawdust and wood chips are recycled in my compost bin.
Marking the rail template on the back of an old vinyl sign that I cut and taped together.
The rail template ready to be cut out.
The first rail band marked out on the 4 mm timber panel using the template and cut out on my bandsaw. I finished the edges of the rail band with a block plane. A nice smooth edge minimizes the timber splitting when I steam and bend it around the nose of the board.
Steaming and bending the rail band around the nose of the board using wet hand towels and Mrs. Wood Buddha's hot iron. Normally this is a very effective way to bend paulownia and get me in trouble with Mrs. Wood Buddha. Even though the rail is only 4 mm thick, it didn't want to bend around the nose. Time for plan B.
Steaming the end of the rail in a pot of boiling water for 20 minutes. The pot has about 100 mm of water in the bottom.

After 20 minutes in the pot of boiling water the rail bends easily around the nose. I taped it in place for an hour.
The polyurethane glue applied to the edge of the foam blank.
The tail. No steaming required at this end and taped in place till the glue dries. This normally takes about 2 hours.
The rail at the nose taped in place as the glue dries.
be planed down to the top and bottom contours of the board.
Planing down the top and bottom of the rail with my Kunz Beaver Tail Palm Plane.
The front of the rail trimmed to an angle.
The second rail steamed, bent and taped to the opposite side of the board.
The nose.
Polyurethane glue applied and the rail taped in place.
After 2 hours the tape is removed.
Ready for the palm plane.
The nose.
And the tail.
I take my time planing down the rails little by little until they are flush with the top and bottom contours of the board. I found this part pf the process a lot easier on the foam core board than with a timber frame.
The rail join at the nose. Before trimming.
And after trimming. I use a dovetail saw and sanding block.
The rail at the tail came loose.

I just cleaned off the old glue with sand paper, re-glued in it and taped it into place.
The rails all trimmed up on both sides.
Marking the outline on the deck and hull skins. These skins are from my first attempt at this board using the timber frame. I just recycled them.

Marking around the nose.
Gluing on the tail piece.
The tail all trimmed up.
Sanding the deck and hull skins. My least favourite part of the board building process. One of these days I'll have to see if I can get a purchase request for a Drum Sander past the Minister for War and Finance (a.k.a. Mrs. Wood Buddha). I like to sand the skins before I glue them onto the board. It's much easier to sand them on a flat surface.
Applying the polyurethane glue to the bottom of the EPS core with a squeegee. A little glue goes a long way. I mist spray with water to help activate the glue. Polyurethane is moisture cured. Note the pencil line on the front of the core to mark the centre of the EPS core. This helps lining up the centre of the deck and hull skins with the EPS core.
And the same for the top of the core.
The skins lined up and taped in place.
The tail. I tape either side of the centre line Why? So I can make sure everything is centred Oh wise and noble reader. Things do tend to move around during the vacuum bagging process.

The view from the tail and the vacuum connector. There is a small piece of breather cloth under the connector to help with the flow of air out of the bag.

The tie down strap.
A padded timber block under the board nose.
Timber block under the tail.
The venturi vacuum pump set at a maximum of 25" Hg and minimum of 20" of Hg.
After 3 hours the board is removed from the bag.
The nose.
The tail.

The bag pulls a nice concave.
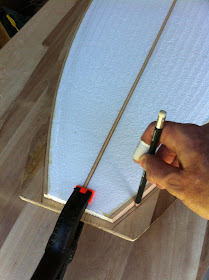
Trimming the sides of the skins. I take my time with this part of the process and use a nice sharp plane and a sanding block.
Planing down the rails.
Sanding down the rails after planing.
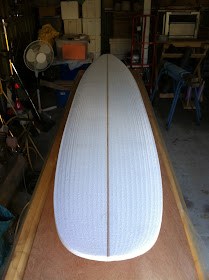
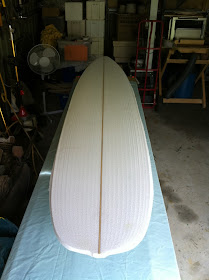
View from the nose end.
View from the tail end.
Ready for the rail bands, centre fin block, side fin plugs, leash plug, rail shaping, final sanding and epoxy hot coat or lanolin. I'll cover this off in Part 2.
















Dear Mr. Wood Buddha,
ReplyDeleteAfter decades of constant torment, incessant teasing, and hundreds of hours of expensive psycho therapy I thought I had put this issue behind me. But you couldn't help yourself and you just had to drag up it again. Can you possibly imagine what I've been through having a name like that. Shame on you, Sir. BTW the board is coming along nicely. Can't wait to see it in the lineup so I can give it a big bloody fin chop.
Jack Goff Esquire.
Jeez Jack. It's been a while. Look, if it makes you feel any better, just send any of those nasty name callers around to my place and I'll get Mrs. Wood Buddha to bitch slap 'em into line.
DeleteGreat stuff mate. This looks great. And to think I witnessed you standing on a board for the first time MANY MANY moons ago..
ReplyDeleteYou have come a long way. A very well done indeed.
Thanks mate. I've come a long way. I can even do some tricks on my board like standing up and not falling off. I can also do the hood ornament. Not an easy trick but I've perfected it.
DeleteKeep the good info coming Guatama. Regarding names I suggest either the "Iva Biggen Model" or " the Hugh Jarce Model"
ReplyDeleteThanks Craig. I think you've nailed the theme for a board name. I like "Iva" as in "Iva Bigg-Woody. The hyphen makes it sound a bit posh.
DeleteLooking the goods Buddha.You will never look back.
ReplyDeleteThanks Grant. I'm sold!
DeleteIs vacuum bagging the board necessary to get the skins on properly or would using heavy bag weights and a properly shaped/rockered table suffice?
ReplyDeleteVacuum bagging is by far the best way to get an even and high pressure over the skin ensuring it bonds closely to the foam core. If you wanted to use bag weights here's a rough calculation of the weight needed. A vacuum bag can operate at 1 atmosphere of pressure which is 14lbs per square inch. For a board area of 80 inches x 20 inches, that's a total of 1600 square inches x 14lbs / square inch = 22400lbs (9955kgs or 9 tonnes). That's a lot of heavy bag weights and one heavy duty rocker table to support it. You can use timber board clamps which bolt to the rocker table, but you need to use a lot of them spaced closely together to ensure there are no gaps between the skin and the foam core. I've found for the best results, a vacuum bad works a treat.
DeleteWhere did you get the foam core for the board? My grandfather and I are planning on making one this summer from your plans.
ReplyDeleteThe foam blank was cut by Southcoast foam on the Gold Coast (Burleigh Heads).
DeleteSorry I meant where did you get the vacuum bag?
ReplyDeleteI get my vacuum bagging tube from ACP composites in the US. http://www.acpsales.com/Vacuum-Bagging.html
DeleteHi Wood Buddha!
ReplyDeleteNice post! Awesome to see what can come out of a misfortune at the start. Am sure the board is a beauty now!
I've made a few boards in a very similar construction, however using agave skins as that is the only wood available locally and at a reasonable price.
Have you ever had problems with delaming of the skins to the core? The EPS is full of air and in the sun or in a hot spot that air expands and breaks the adhesion between the wood and the foam. I'm afraid the only way to solve it is to use epoxy/cloth to glue the skins on.
Would love to hear if you've had any experience with that or if you've found a better alternative!?
Cheers,
David
Hi David, I haven't had any issues with this board delaminating. I use EPS foam which is more stable than XPS foam which was notorious for gassing. The board is now 4 years old and been well surfed. I do avoid leaving it in the hot sun. It has sat on top of my car after surf sessions but in a surf bag.
DeleteHey mate what equipment do I need to vacuum bag. Does a normal sure compressor do the job?
ReplyDeleteHey mate,
ReplyDeleteHopefully you're still active on this site.
I was just wondering if you had any leads on vacuum pumps or some type of set-up for home to do just a couple boards?
Cheers,
KA