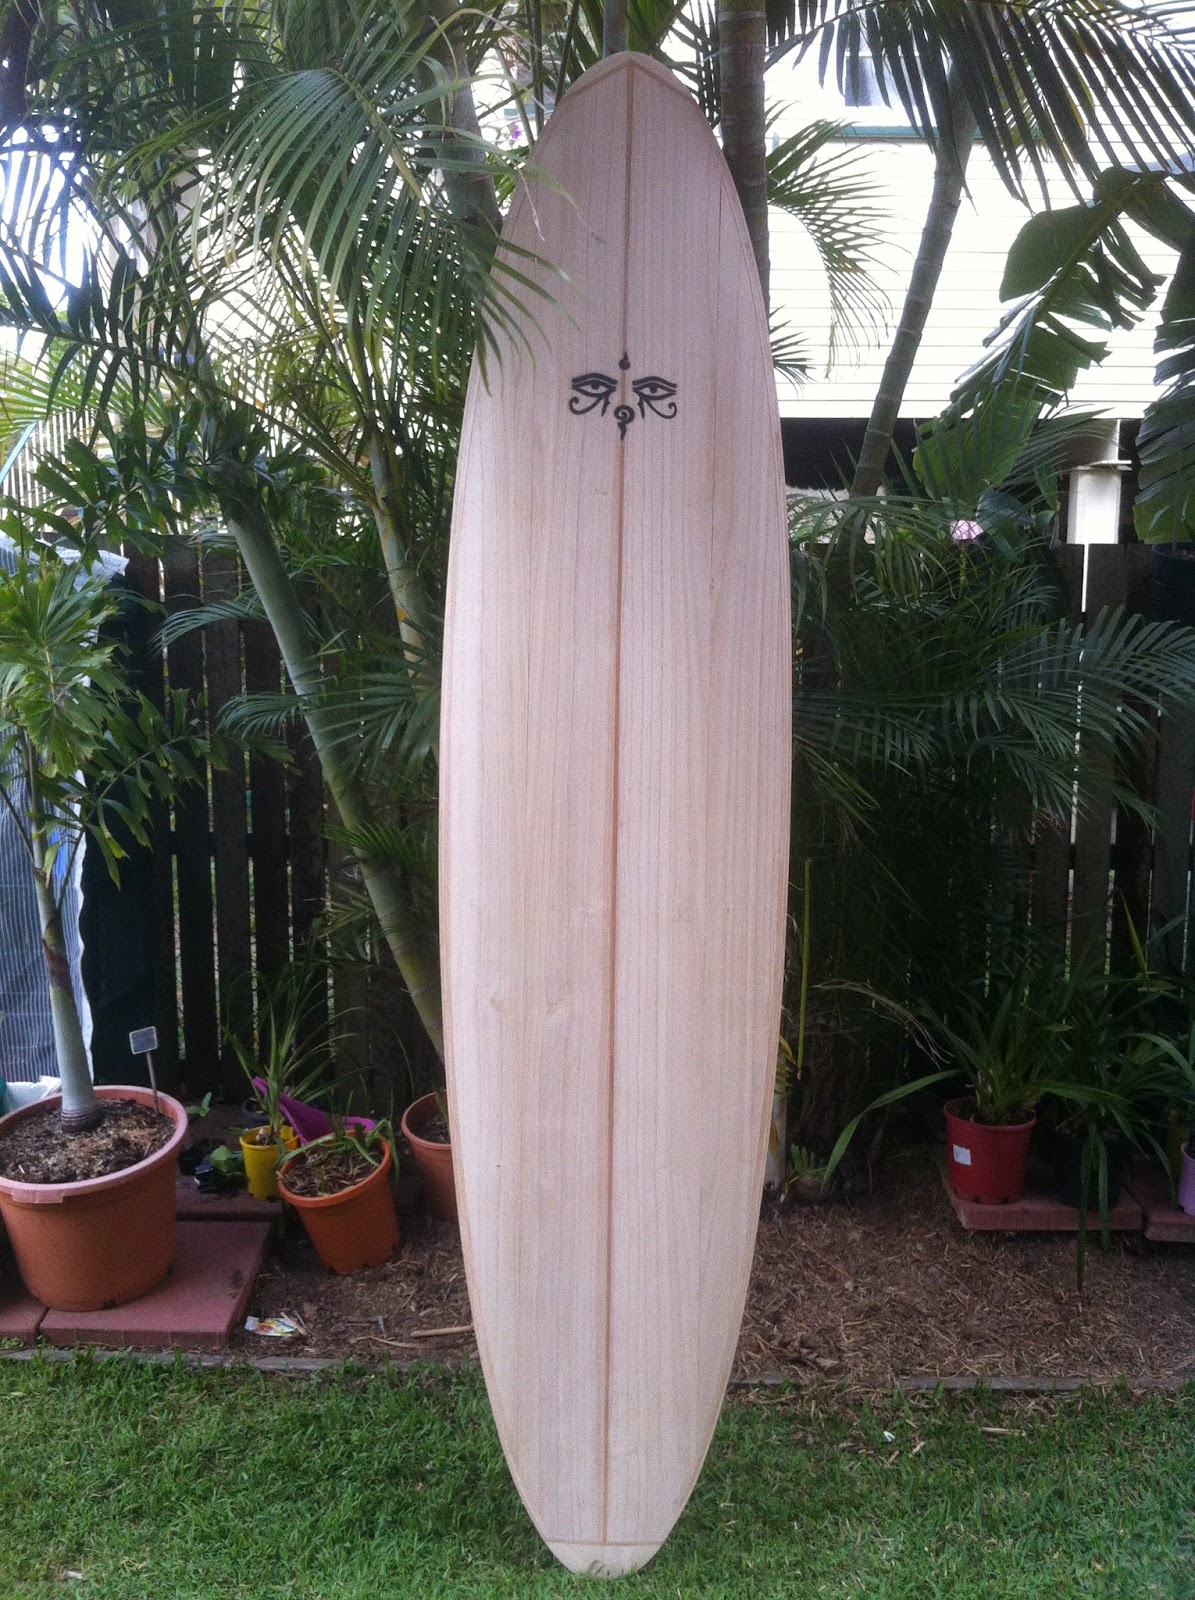
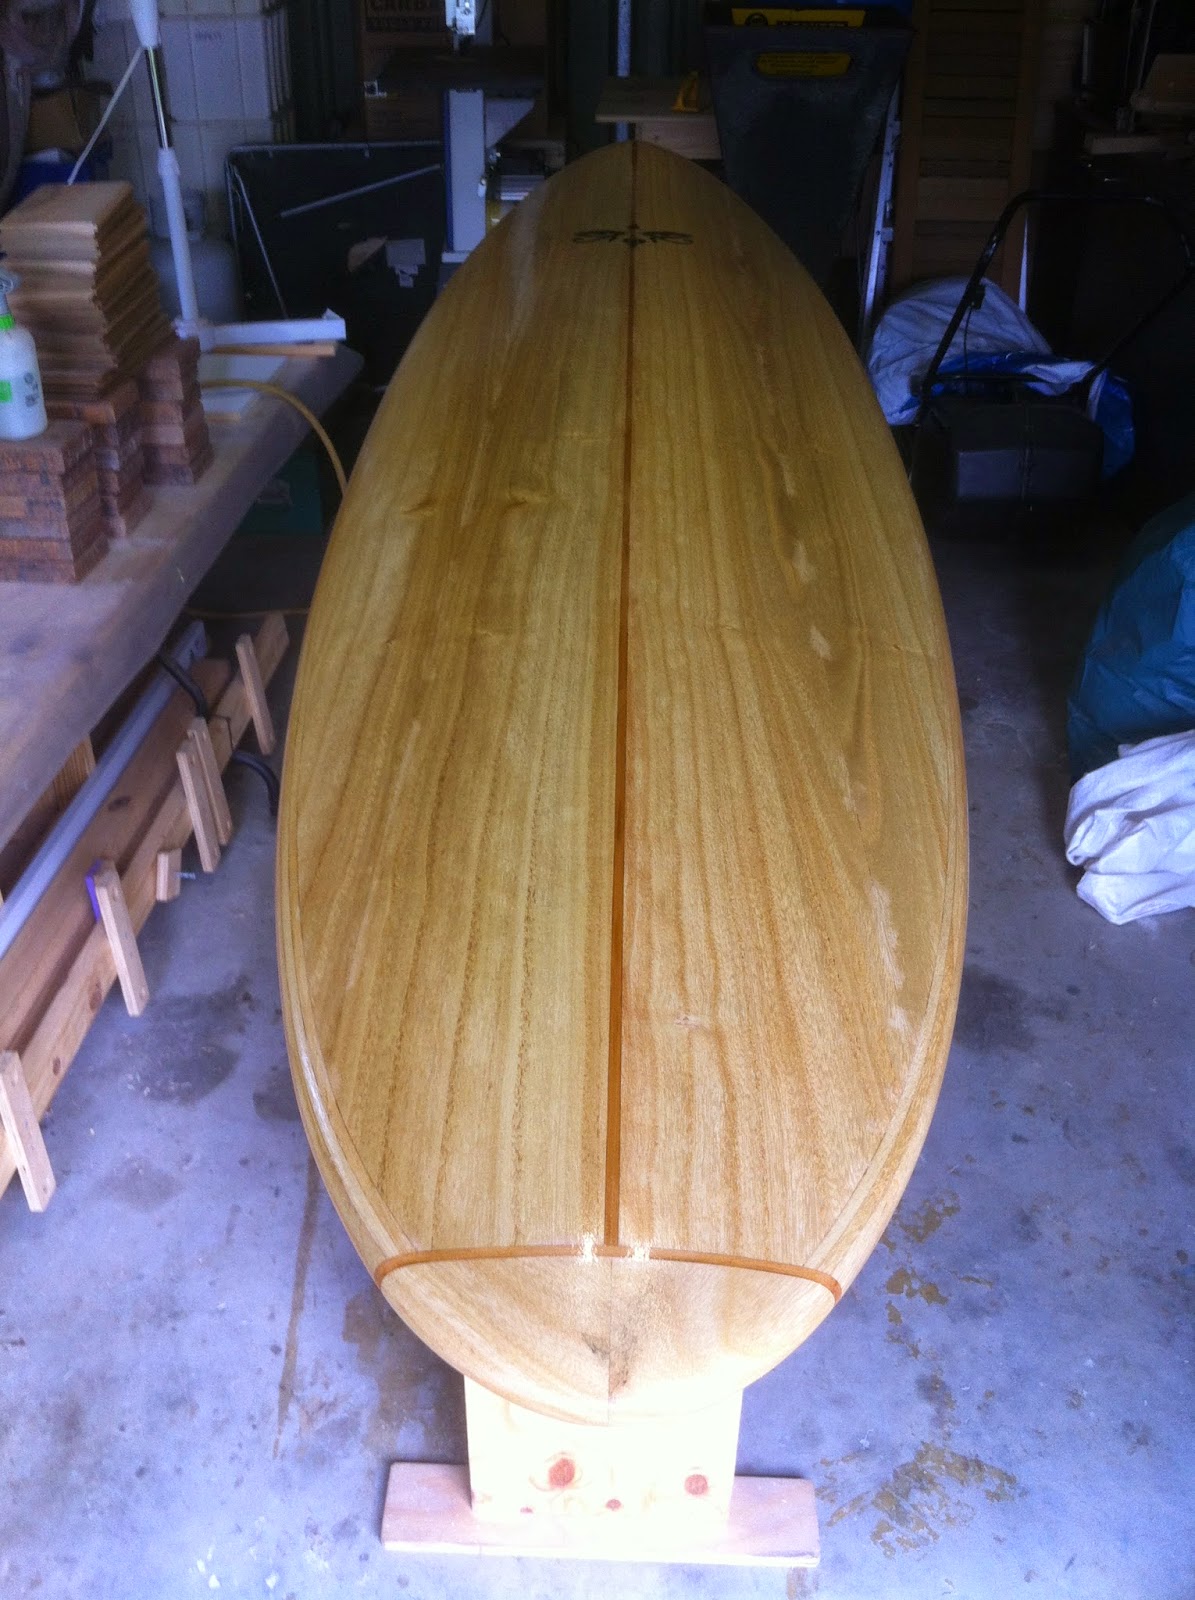
Namaste Hot Doggers and welcome to my latest wooden surfboard project, an eight foot woody for my mate Mike. Mike was keen to add a wooden board to his quiver and approached me to see if I could design and build one for him. Many years ago, back in the seventies, when a Brazilian was someone who played soccer and armpit hair, Chiko Rolls and Sandman panel vans were all the rage, Mike was a young grommet living on the Gold Coast. He was given a board as a birthday present by his then boss who worked next door to a local shaper. The board was called a "Hotdogger" and shaped by Ken Adler of San Juan Surfboards fame. It was essentially an egg shaped board and it went like the clappers but unfortunately Mike surfed it to death and it is no more. It was a fairly unique board for its time and Mike used to cop a bit of flack over it from his mates. It was affectionately referred to as Mum's Ironing Board (MIB).
Being a sentimental type of chap Mike was keen to relive the glory days of his surfing past so we set about designing and building a replica board based on his beloved Hotdogger. In his youth, Mike was a 6'5" streak of duck shit but since then he's put on a few kilos so we beefed up the volume of the board to make it a touch more floaty than the original.
Here's some photos for your viewing pleasure.
The outline and rocker is based on mathematical ellipses. I used a graphing application to plot the shapes and then imported them into AKU Shaper as image boards.
Gluing on the inside rail bands. I used a custom made Luthier's iron to heat and bend the paulownia strips.
My custom made Luthier's iron.
The inside rail bands trimmed up and ready for the top and bottom skins.
The top and bottom skins. Sanded, taped and ready for gluing to the blank.
The polyurethane glue is applied to the blank with a squeegee.
The skins are taped in place.
...and the board is slipped into the vacuum bag.
2 - 3 hours later after the glue has dried and all trimmed up.
The tail is trimmed ready for the tail block.
The nose is trimmed for the nose block.
Some spiritual artwork.
The right side rail bands are glued on, three at a time.
After 2 - 3 hours the board is removed from the rail jig.
All trimmed up and ready for the opposite side.
The left hand side rails being glued on.
Trimming the rails with a palm plane and spoke shave.
The nose.
The tail.
Gluing on the tail block.
...and the nose block.
Ready to have the rails shaped.
The rails are shaped and sanded and the board is ready for its first coat of epoxy resin.
The nose block.
The tail block.
Taping up the bottom before applying the epoxy to the deck.
Weapons of choice.
Applying the epoxy.
Using a squeegee to spread out the epoxy. No need to be too precise as the roller will help get an even application of resin over the board.
A brush over with a foam brush removes any bubbles.
Now to the bottom of the board.
Cutting the fin slot with a custom made jig and trimmer.
Drilling the leash plug hole.
The leash plug hole ready for the plug.
Gluing in the centre fin box with thickened (pigmented) epoxy resin. The ice block sticks (hot glued to the fin box) help to align the box perpendicular to the bottom of the board.
Gluing in the leash plug.
A final coast of resin all over and a wet rub with P240, P360 and P600 grit wet and dry sand paper.
I pyro pen the board's dimensions along the stringer.
Some sound advice.
The board weighs in at 6.6kg
In communion with nature.
Another happy customer. He just can't wait to get his Hotdogger wet.
Ride Report March 2015 (by Mike)
In communion with nature.
Another happy customer. He just can't wait to get his Hotdogger wet.
Ride Report March 2015 (by Mike)
"I love the way this boards feels. It's loose and picks up speed in turns. I've only surfed it in small waves so far. I've got back into surfing recently after a 20 year hiatus but couldn't really get the hang of surfng a long board. This one is 8' but I can surf it like the single fins I used to ride in the 70's."
Mike surfing the Hotdogger at Currimundi.


